
In Beauty Heaven is a participant in the Amazon Services LLC Associates Program, an affliate advertising program designed to provide a means for sites to earn advertising fees by advertising and linking to Amazon.com.
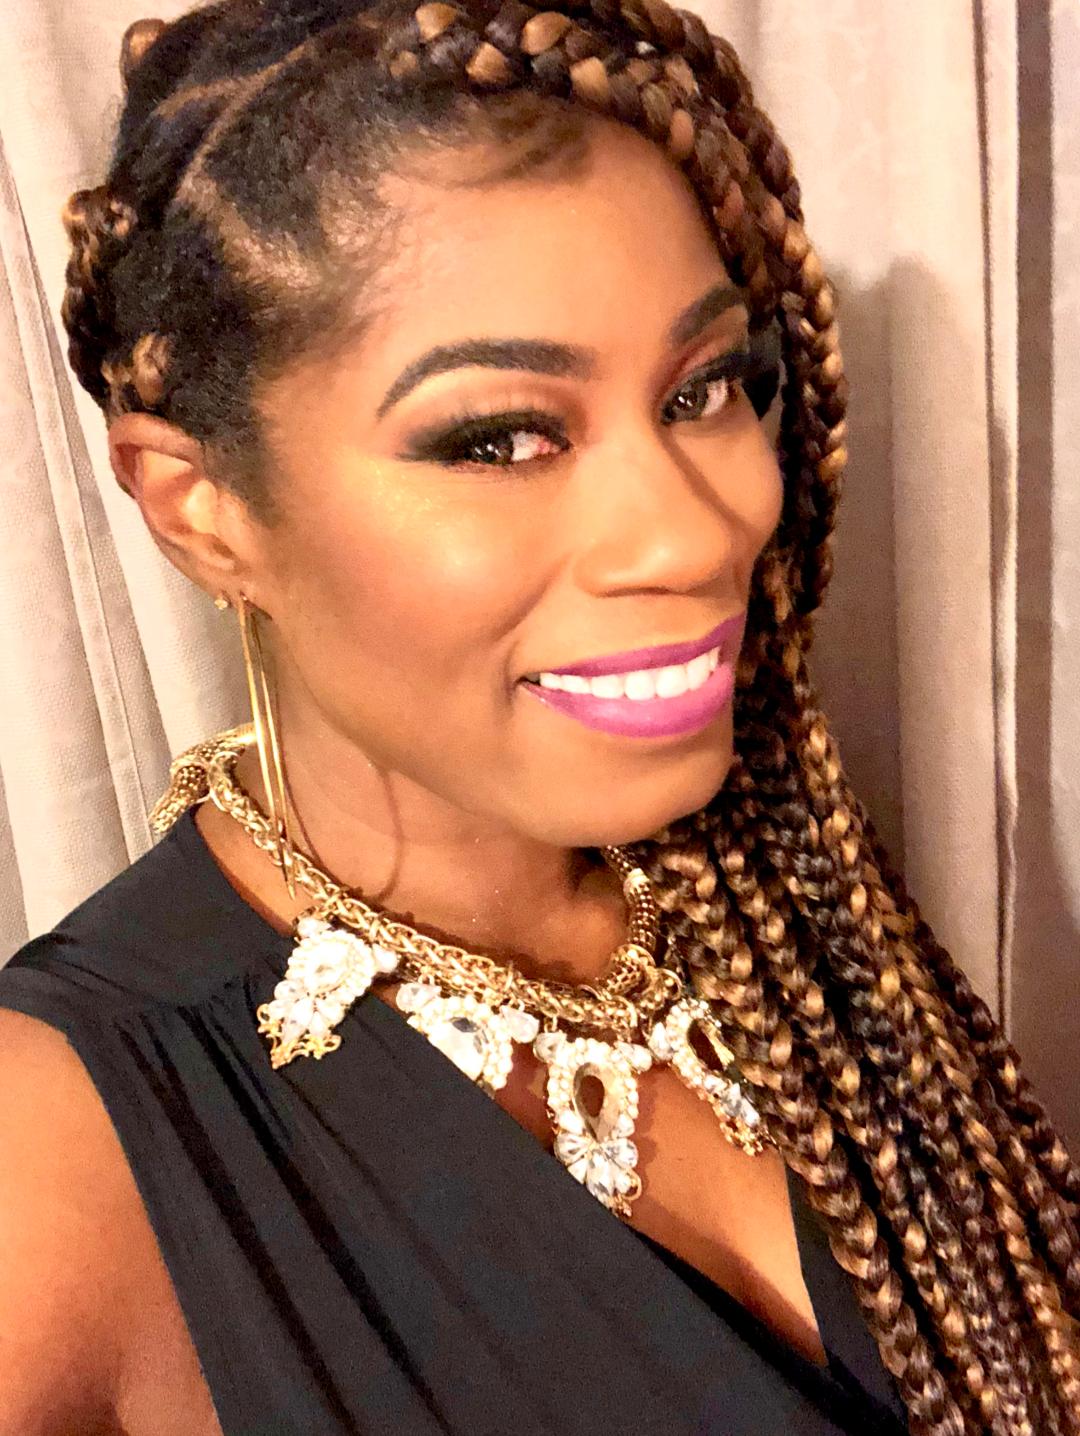
Grooming brows are an essential part of most women’s lives. Well maintained brows help to enhance your beauty on natural days as well as on glammed up makeup days. When your brows are groomed, they are easier to outline, fill & slay. Many of us go to salons, spas & stylist regularly to groom our brows. However, most of us have had a bad brow experience. Learning how to properly groom your own brows can prevent you from ever having to experience a brow mishap again; if you take your time & follow these steps, you’ll be mastering your own brows in no time.
There are two processes that the most people feel the utmost comfort in using to groom their brows at home by themselves. One of those processes includes grooming your brows with a hair removal gel, lotion or cream. The other process includes using a brow razor tool to groom your brows. In order to groom brows with either process, you will need a few supplies. The supplies needed for these processes include a makeup cleansing cloth/facial cleansing products, a brow spoolie brush, a pair of small scissors, a wet cloth, hair removal product of your choice (hair removal cream/brow trimmer/razor) & a set of tweezers.
When I groom my brows I sometimes use the process that involves using a razor to groom my brows; however, I have been grooming my brows by utilizing the process which involves a brow removal cream lately. In this post, I will walk you through both processes to help you learn to properly groom your brows using whichever process you’ll feel the most comfortable with trying. When I begin grooming my brows, with either process, I start by removing any oil, dirt & makeup from my face; I usually complete this step by using a makeup cleansing cloth and/or ant facial cleansing product from my skincare regimen. After cleaning my face, I brush all of the hair in my brows ensuring that they all are facing the same direction. Now that my brow hair is in facing the same way, I can easily determine which hair needs to be trimmed; if any hair appears extremely long or differ from my natural pattern, I use a small pair of scissors to trim them to make them more uniform. Next, I use the hair removal cream/brow razor to remove all hair surrounding my brows that do not fit within my desired brow pattern.
If using a hair removal cream, I typically use Nair Moisturizing Hair Removal Cream. I apply the cream to a q-tip and use it to apply the cream to all areas surrounding my desired brow shape. Once the cream has been sitting on the hairs for 5 mins, I attempt to remove the cream and hair by wiping a test area with a wet cloth. My test area is generally the area I applied the cream to first. If the hair in the test area is removed with the test wipe, I continue to wipe away all of the cream and hair that were in the section surrounding my brow. However, if the hair and cream on the test area do not easily wipe away, add a little more removal cream to that space and wait a few more minutes before testing again. Continue that process until the hair and cream finally wipe away showing that the hair is ready for removal. When going through your testing phase, do not leave the removal cream on your skin for more than 10 minutes or whatever maximum time the packaging recommends. 
When using a razor or brow shaper tool, instead of a cream to groom your brows, I use the Tinkle Eyebrow Razor tool. I also continue the process by determining my desired brow shape and the area that outlines it. I follow that step by applying a moisturizer or ointment to the hair and skin in the area that outlines the perimeter of my desired brow shape. I prefer to use CeraVe Moisturizing Cream as my product to outline my brow shape; I have found that it is the perfect consistency to moisturize my skin in addition to working well as a skin protectant and guide. Then, I gently sweep the blade of the tool against the hair in the area that I moisturized until I’ve cut all of the hair not included in my desired brow shape.
After cutting or removing most of the hair surrounding my desired brow shape, I proceed by cleansing the area of my face surrounding my brows again. Through cleansing that area again after taming the brows, it ensures that all of the cream or moisturizing product has been removed. If any hair was resistant in the removal process, use a tweezer to pluck them. By plucking the leftover hair, it should help me to refine the shape I desire. This process should reveal a nicely groomed brow.
Now that you know my process of grooming my brows, I hope you’re ready to show off your brows after you’ve learned how to properly groom your own eyebrows. If you’ve tried this process, we’d love for you to share your experience with us in the comment section below. For other helpful articles on makeup and skincare, check out our posts that guide you through learning How to properly clean makeup brushes, How to get your foundation to look flawless and last longer and How to fix broken makeup.


One comment